Are you a new pet owner looking to provide the best for your furry friend? One of the simplest yet most impactful ways to enhance your dog’s health and happiness is by making homemade dog treats. It’s a great way to control ingredients, cater to your dog’s specific dietary needs, and even make training sessions more effective. This guide is designed to be your go-to resource, packed with vet-approved recipes, practical tips, and essential information to get you started. Get ready to explore the world of homemade dog treats and discover how easy and fun it can be!
Why Understanding Homemade Dog Treats is Crucial for Your New Pet
So, why make dog treats when there are so many options at the pet store? Well, making your own treats offers several advantages. First, you have complete control over the ingredients. This is especially beneficial if your dog has allergies or sensitivities. You can avoid artificial additives, preservatives, and fillers that are often found in commercial products. Homemade treats allow you to select wholesome, natural ingredients like fresh fruits, vegetables, and lean proteins.
Another key benefit is cost savings. Store-bought treats can be expensive, and the cost adds up quickly. Making your own treats is often more budget-friendly, especially when you utilise ingredients you already have at home. Plus, homemade treats are a great way to build a stronger bond with your dog. The time and effort you put into making treats can be very rewarding. Most importantly, you will be providing your dog with a healthier and more personalized diet.
Let's be honest; the love and care you put in will show with a tail wag.
Essential First Steps for Dog Treat Making
Before you start baking, there are a few essential steps to ensure a smooth and successful treat-making experience.
Ingredient Selection: Choose high-quality, dog-friendly ingredients. Look for whole grains, lean proteins (chicken, turkey, beef), and fresh produce (carrots, sweet potatoes, apples). Avoid ingredients that are toxic to dogs, such as chocolate, grapes, raisins, onions, and xylitol. When possible, opt for organic ingredients to minimize exposure to pesticides and other chemicals.
Kitchen Tools: You'll need basic kitchen tools like mixing bowls, measuring cups and spoons, a baking sheet, and an oven. Consider investing in a set of small cookie cutters to make fun shapes. If you are serious, a food processor can save time, especially for blending ingredients.
Vet Consultation: Before changing your dog's diet, it's always wise to consult your veterinarian, particularly if your dog has any existing health conditions or allergies. They can provide tailored advice based on your dog's specific needs and help you avoid potentially harmful ingredients. Make sure to ask about any specific ingredients that may be of concern or those that are suitable for your dog's breed, age, and activity level.
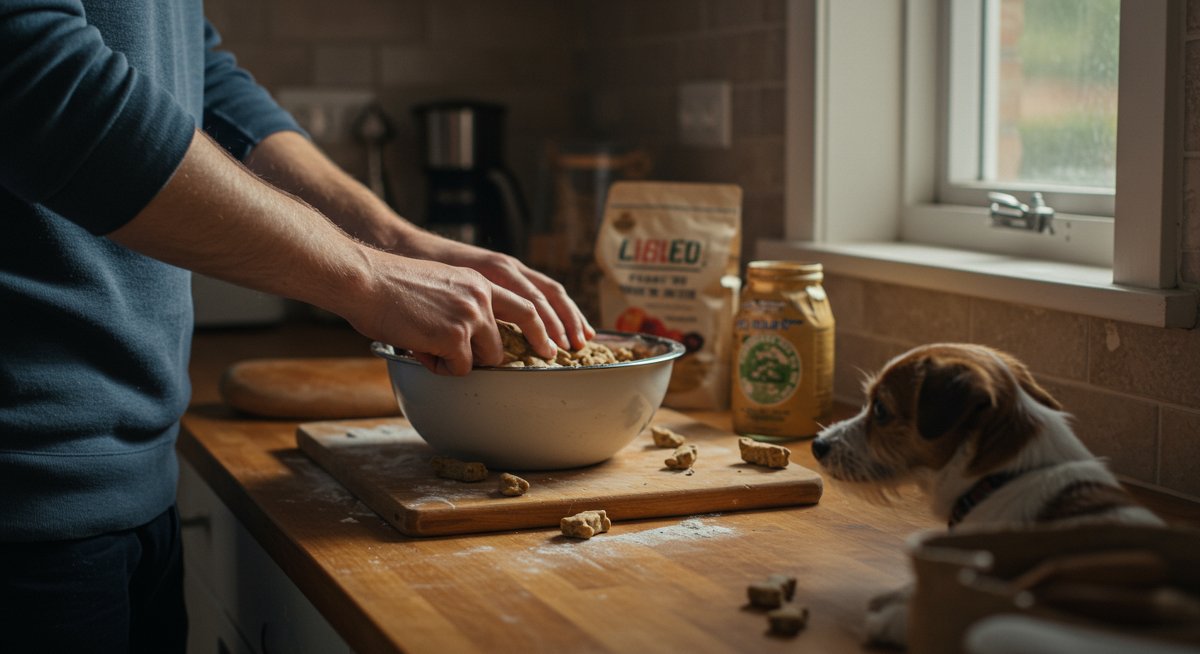
Start Simple: Begin with easy recipes that have few ingredients. This allows you to get comfortable with the process before trying more complex recipes.
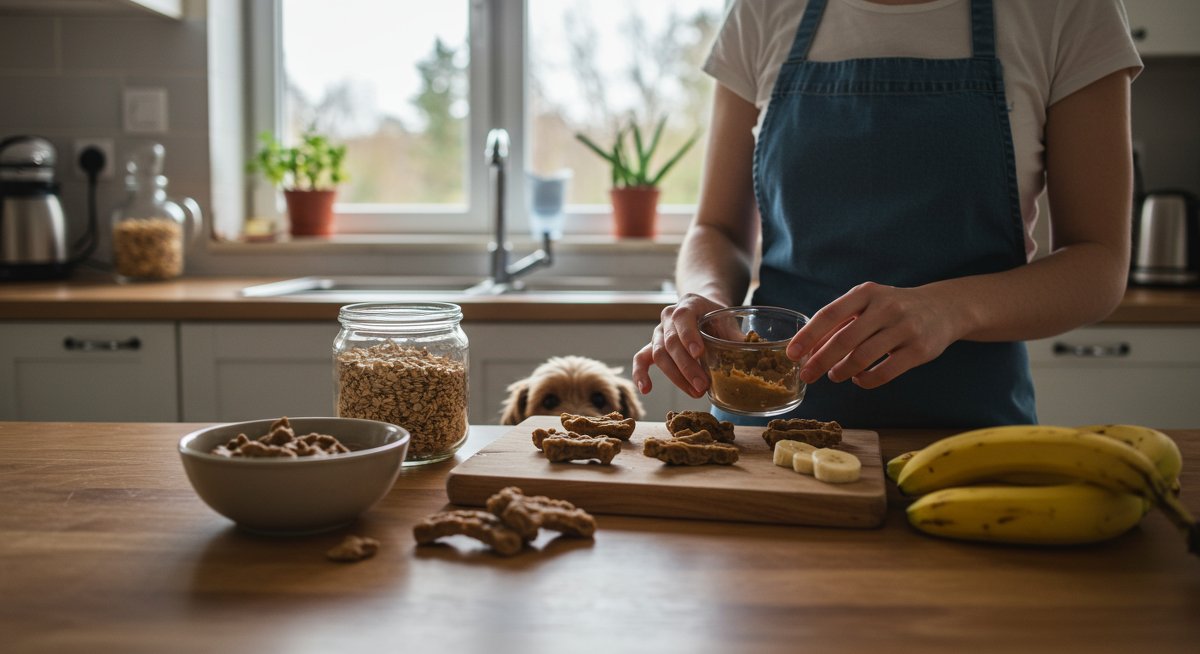
Example 1: Let's say you want to make a simple, yet effective, treat for training. Combine 1 cup of whole wheat flour, 1/2 cup of pureed pumpkin (canned is fine, just make sure it's 100% pumpkin), and 1 egg. Mix well, roll out, and use a small bone-shaped cookie cutter. Bake at 350°F (175°C) for about 15-20 minutes. You will find that your pup loves this!
Example 2: Consider how you will use these treats. If it's for training, make the treats small, so they are easy to dispense and your dog does not get full too quickly. If the treats are for enrichment, then use a larger recipe.
Example 3: Don't be afraid to experiment! Your dog will love this as much as you love making them.
Common Challenges & How to Overcome Them
Even the most experienced bakers encounter a few bumps. Here are some common challenges and how to address them:
Treats Crumbling: If your treats are too crumbly, you may need to adjust the liquid-to-flour ratio. Add a bit more wet ingredients (like water, broth, or egg) to the dough. If the treats are too soft, bake them longer or at a slightly lower temperature.
Uneven Baking: Uneven baking can be caused by an inconsistent oven temperature or overcrowding the baking sheet. Use an oven thermometer to check the accuracy of your oven. Make sure to space treats evenly on the baking sheet.
Picky Eaters: Some dogs can be finicky. If your dog isn't enthusiastic about a new treat, try adding a small amount of a favorite ingredient, such as peanut butter (make sure it is xylitol-free) or a bit of cooked meat. You can also adjust the texture by changing the baking time.
Storage Issues: Treats can become stale quickly if not stored properly. Store homemade treats in an airtight container at room temperature for up to a week or in the refrigerator for up to two weeks. For longer storage, freeze them in a freezer-safe bag for up to two months.
Expert Tip: Always introduce new treats gradually to avoid upsetting your dog’s stomach. Start with a small quantity to see how they react.
Tips for Success
Here are a few more tips to make your homemade dog treat journey a success:
Measure Ingredients Accurately: Use measuring cups and spoons for the best results. Baking is a science, and precise measurements are crucial for consistency. Consider using a kitchen scale to weigh ingredients for even more accuracy.
Preheat Your Oven: Always preheat your oven to the correct temperature before placing the treats inside. This ensures even baking.
Cool Completely: Allow the treats to cool completely on a wire rack before storing. This helps prevent them from becoming soggy.
Label and Date: Clearly label each batch of treats with the recipe name and date you made them. This will help you keep track of freshness.
Consider Your Dog's Preferences: Pay attention to your dog's flavor preferences. Does your dog love peanut butter, chicken, or something else? Tailor your recipes to their individual tastes.
Incorporate Training: Use treats as a positive reinforcement tool during training. Small, tasty treats can be highly motivating, which enhances the learning process and strengthens your bond.
Portion Control: Remember to factor in treats when calculating your dog's daily caloric intake to prevent overfeeding.
Example 1: If your dog loves peanut butter, try a simple recipe of peanut butter, rolled oats, and a bit of mashed banana. If you have a food processor, this recipe can be done quickly.
Example 2: For training, use tiny, bite-sized treats. Chicken or beef jerky, cut into small pieces, makes an excellent high-value reward, perfect for reinforcing good behavior. If your dog loves the treat, then the training will also be more effective.
Example 3: If you plan to make a large batch, then consider freezing half of the treats for future use. This way, you always have a fresh supply.
Building a Strong Bond with Your Dog
One of the most rewarding aspects of making homemade dog treats is the opportunity to strengthen your bond with your furry friend. Think of it as a shared activity, a labour of love that directly benefits your dog. The act of creating these treats is an expression of love and care that dogs instinctively understand and appreciate.
When you bake these treats, you're not just providing a tasty snack; you're also dedicating your time and effort to your dog's well-being. This can enhance their trust and create positive associations with you. Your dog learns that you are a source of good things, and in turn, their loyalty grows.
Furthermore, the training opportunities presented by homemade treats are significant. Using these treats as rewards during training creates a positive feedback loop. Your dog associates good behavior with a delicious reward, making them more eager to learn and please you. This positive reinforcement approach deepens your bond as you work together towards common goals.
Example 1: Spend some quality time while preparing treats with your dog nearby. Talk to them, let them sniff the ingredients (if safe), and include them in the process. The anticipation and excitement leading up to the treat can create a stronger connection.
Example 2: After a successful training session, give your dog a treat and praise them. Positive reinforcement makes the experience rewarding.
Example 3: Use the treat-making process as an opportunity for gentle interaction. If your dog has a sensitive side, you can use this as an opportunity to touch their paws or ears, building trust and desensitization.
Recommended Products for New Owners
To get you started, here are some recommended products that will make your homemade dog treat journey even easier and more enjoyable:
Measuring Cups and Spoons: Accurate measurements are key to consistent results. A good set of measuring cups and spoons can make all the difference.
Baking Sheets: A sturdy baking sheet is essential. Look for non-stick options to prevent sticking.
Cookie Cutters: Fun-shaped cookie cutters make the treats more appealing.
Airtight Containers: Proper storage containers are crucial for keeping the treats fresh.
Food Processor (Optional): If you plan to make a lot of treats, a food processor can speed up the process.
Small Food Scale (Optional): If you want to be precise with your measurements, a small food scale will help.
Quick Troubleshooting Guide
Problem: Treats are too hard. Solution: Reduce the baking time or add a little more liquid to the recipe.
Problem: Treats are too soft. Solution: Bake for a longer time or at a slightly higher temperature.
Problem: Treats are crumbling. Solution: The ratio of dry to wet ingredients might be off. Add a bit more wet ingredients or make sure you are not over-mixing the dough.
Problem: My dog doesn't like the treats. Solution: Try adding a small amount of a favorite ingredient, like peanut butter or cooked meat. You can also experiment with different flavors and textures.
Next Steps in Your Pet Parenthood Journey
Making homemade dog treats is a great way to enhance your dog's health, and it provides you with many opportunities to bond with your dog. By following these simple steps, you will be well on your way to providing your dog with delicious, nutritious, and vet-approved treats. So, gather your ingredients, fire up your oven, and enjoy the journey!
If you're on this journey too, I'd love to hear how it goes for you. What recipes have you tried, and what are your dog's favorites? Let me know in the comments below!